- What is a POS System?
- Why Do You Need a POS System?
- How To Choose a POS System
- How To Set Up Your POS System
With the swift overtake of online delivery and other technological advancements, the restaurant industry is booming like never before.
However, with this newfound success comes the need for different and improved methods of payment solutions and processing – namely, a POS system.
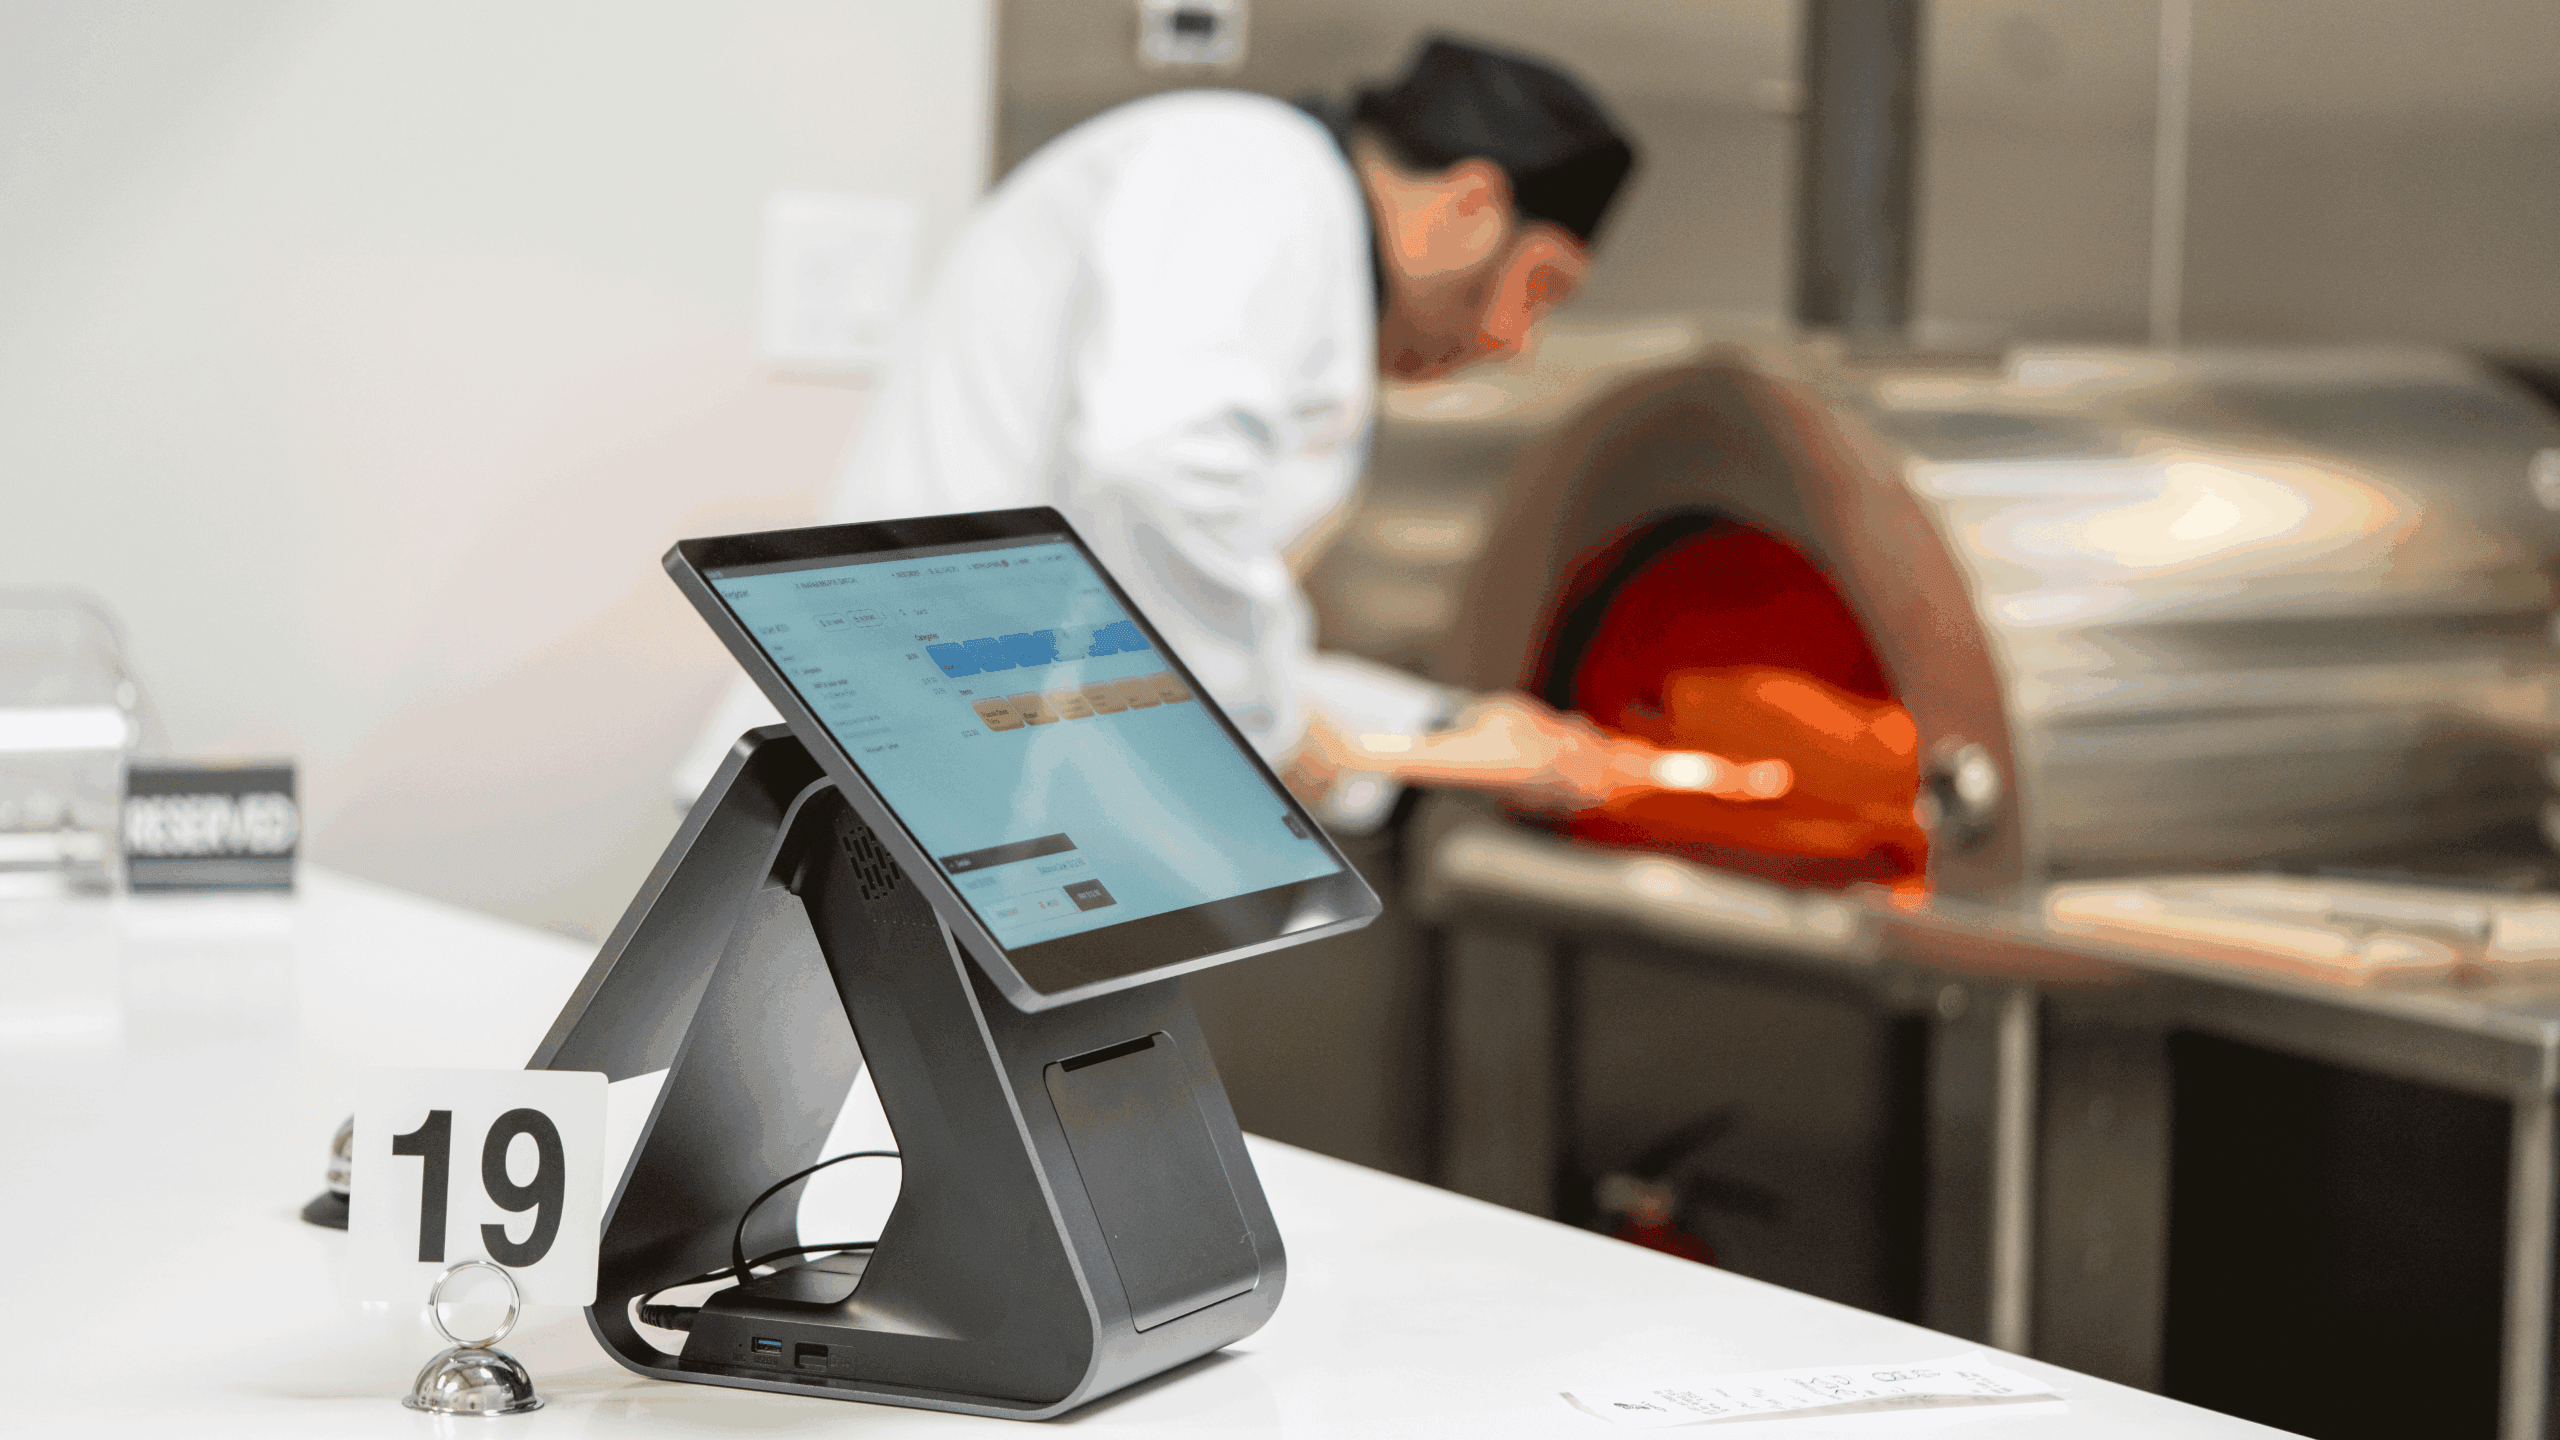
A POS system (or Point of Sale system) is a crucial part of any restaurant business, as it allows customers to quickly and easily pay for their meals.
There are many different types of POS systems available on the market, so it’s important to do your research and find the one that best suits your needs.
In this quick guide, we’ll go over some of the basics of POS payment processing, so you can make an informed decision about which system is right for you.
What is a POS System?

A POS system (Point of Sale system) is software that enables customers to pay for their meals in a restaurant.
This system makes it easy to accept credit and debit cards, as well as other forms of payment such as cash and checks. It can also be used to track sales, inventory, and customers.
Some POS systems also offer the ability to order food and track delivery times, so you can make sure your customers are always happy.
Why Do You Need a POS System?

There are many reasons why you might need a POS system in your restaurant business.
For one, it can help you take care of all your transactions in one place.
You can also use it to track your sales, so you can see which menu items are selling the most.
Additionally, a POS system can help you keep track of your inventory so you always know what food you have on hand.
Finally, a POS system can help you manage your customers, so you can offer them loyalty rewards or discounts.
How To Choose a POS System
Now that you know what a POS system is and why you might need one, it’s time to choose the right system for your business.
There are many different types of POS systems available on the market, so it’s important to do your research and find the one that best suits your needs.
You should also consider the following features when choosing a POS system:
- Ease of Use: The POS system you choose should be easy to use, so you can train your employees quickly and get them up and running with the system.
- Functionality: The POS system you choose should have all the features you need, such as the ability to track sales, inventory, and customers.
- Price: The POS system you choose should be affordable, so you can stay within your budget.
- Customer Support: The POS system you choose should have excellent customer support, so you can always get help when you need it.
- Scalability: The POS system you choose should be scalable, so you can add more features as your business grows.
IMPORTANT NOTE: Pay attention to payment processing fees when choosing a POS system. Some systems charge higher fees than others, so be sure to compare rates before making your final decision.
Now that you know what to look for in a POS system, it’s time to start shopping around and find the perfect one for your business.
How To Set Up Your POS System
Once you’ve chosen the right POS system for your restaurant business, it’s time to set it up.
Here are a few things you’ll need to do to set up your POS system:
1. Choose a location for your payment processor

The first thing you’ll need to do is choose a location for your POS. The location you choose will depend on the type of POS system you’re using.
If you’re using a web-based system, you’ll need to choose a location with an Internet connection.
If you’re using a mobile system, you’ll need to choose a location with cell service. Remember, you need a fast connection so that payment processing can be done quickly.
2. Connect to the Internet
The next thing you’ll need to do is connect your POS system to the Internet.
If you’re using a web-based POS, you’ll need to connect it to a Wi-Fi network.
But if you’re using a mobile POS, you’ll have to connect it to a cell network.
Do You need a mobile POS?

A mobile POS can be used anywhere, so it’s perfect for businesses that are on the go.
It also offers the same features as a traditional system, so you can track sales, inventory, and customers.
The only downside to using a mobile system is that it requires an Internet connection.
If you’re using a mobile POS system, you’ll need to make sure you have cell service or Wi-Fi access.
Mobile POS systems are more suitable for businesses that are always on the move, such as food trucks or pop-up shops.
You can still use your POS system offline. However, you won’t be able to process transactions or track sales while offline.
You’ll only be able to use the POS for offline tasks, such as taking inventory or managing customers.
If you need to process transactions, you’ll need to connect your POS system to the Internet.
3. Set up your payment processor
The next thing you’ll need to do is set up your payment processor.
Most POS systems come with a built-in credit card reader, so you can start accepting credit card payments right away.
You should also ensure that your card reader accepts both credit and debit cards, also can accept payments that are contactless, such as Apple Pay and Google Pay.
Your payment processor should also be compatible with the POS system you’re using.
Your Inbox, Your Rules!
Tailor your newsletter with the topics you're most interested in.
4. Download the POS software
The next thing you’ll need to do is download the POS software.
Most POS comes with a free trial, so you can try out the software before you buy it.
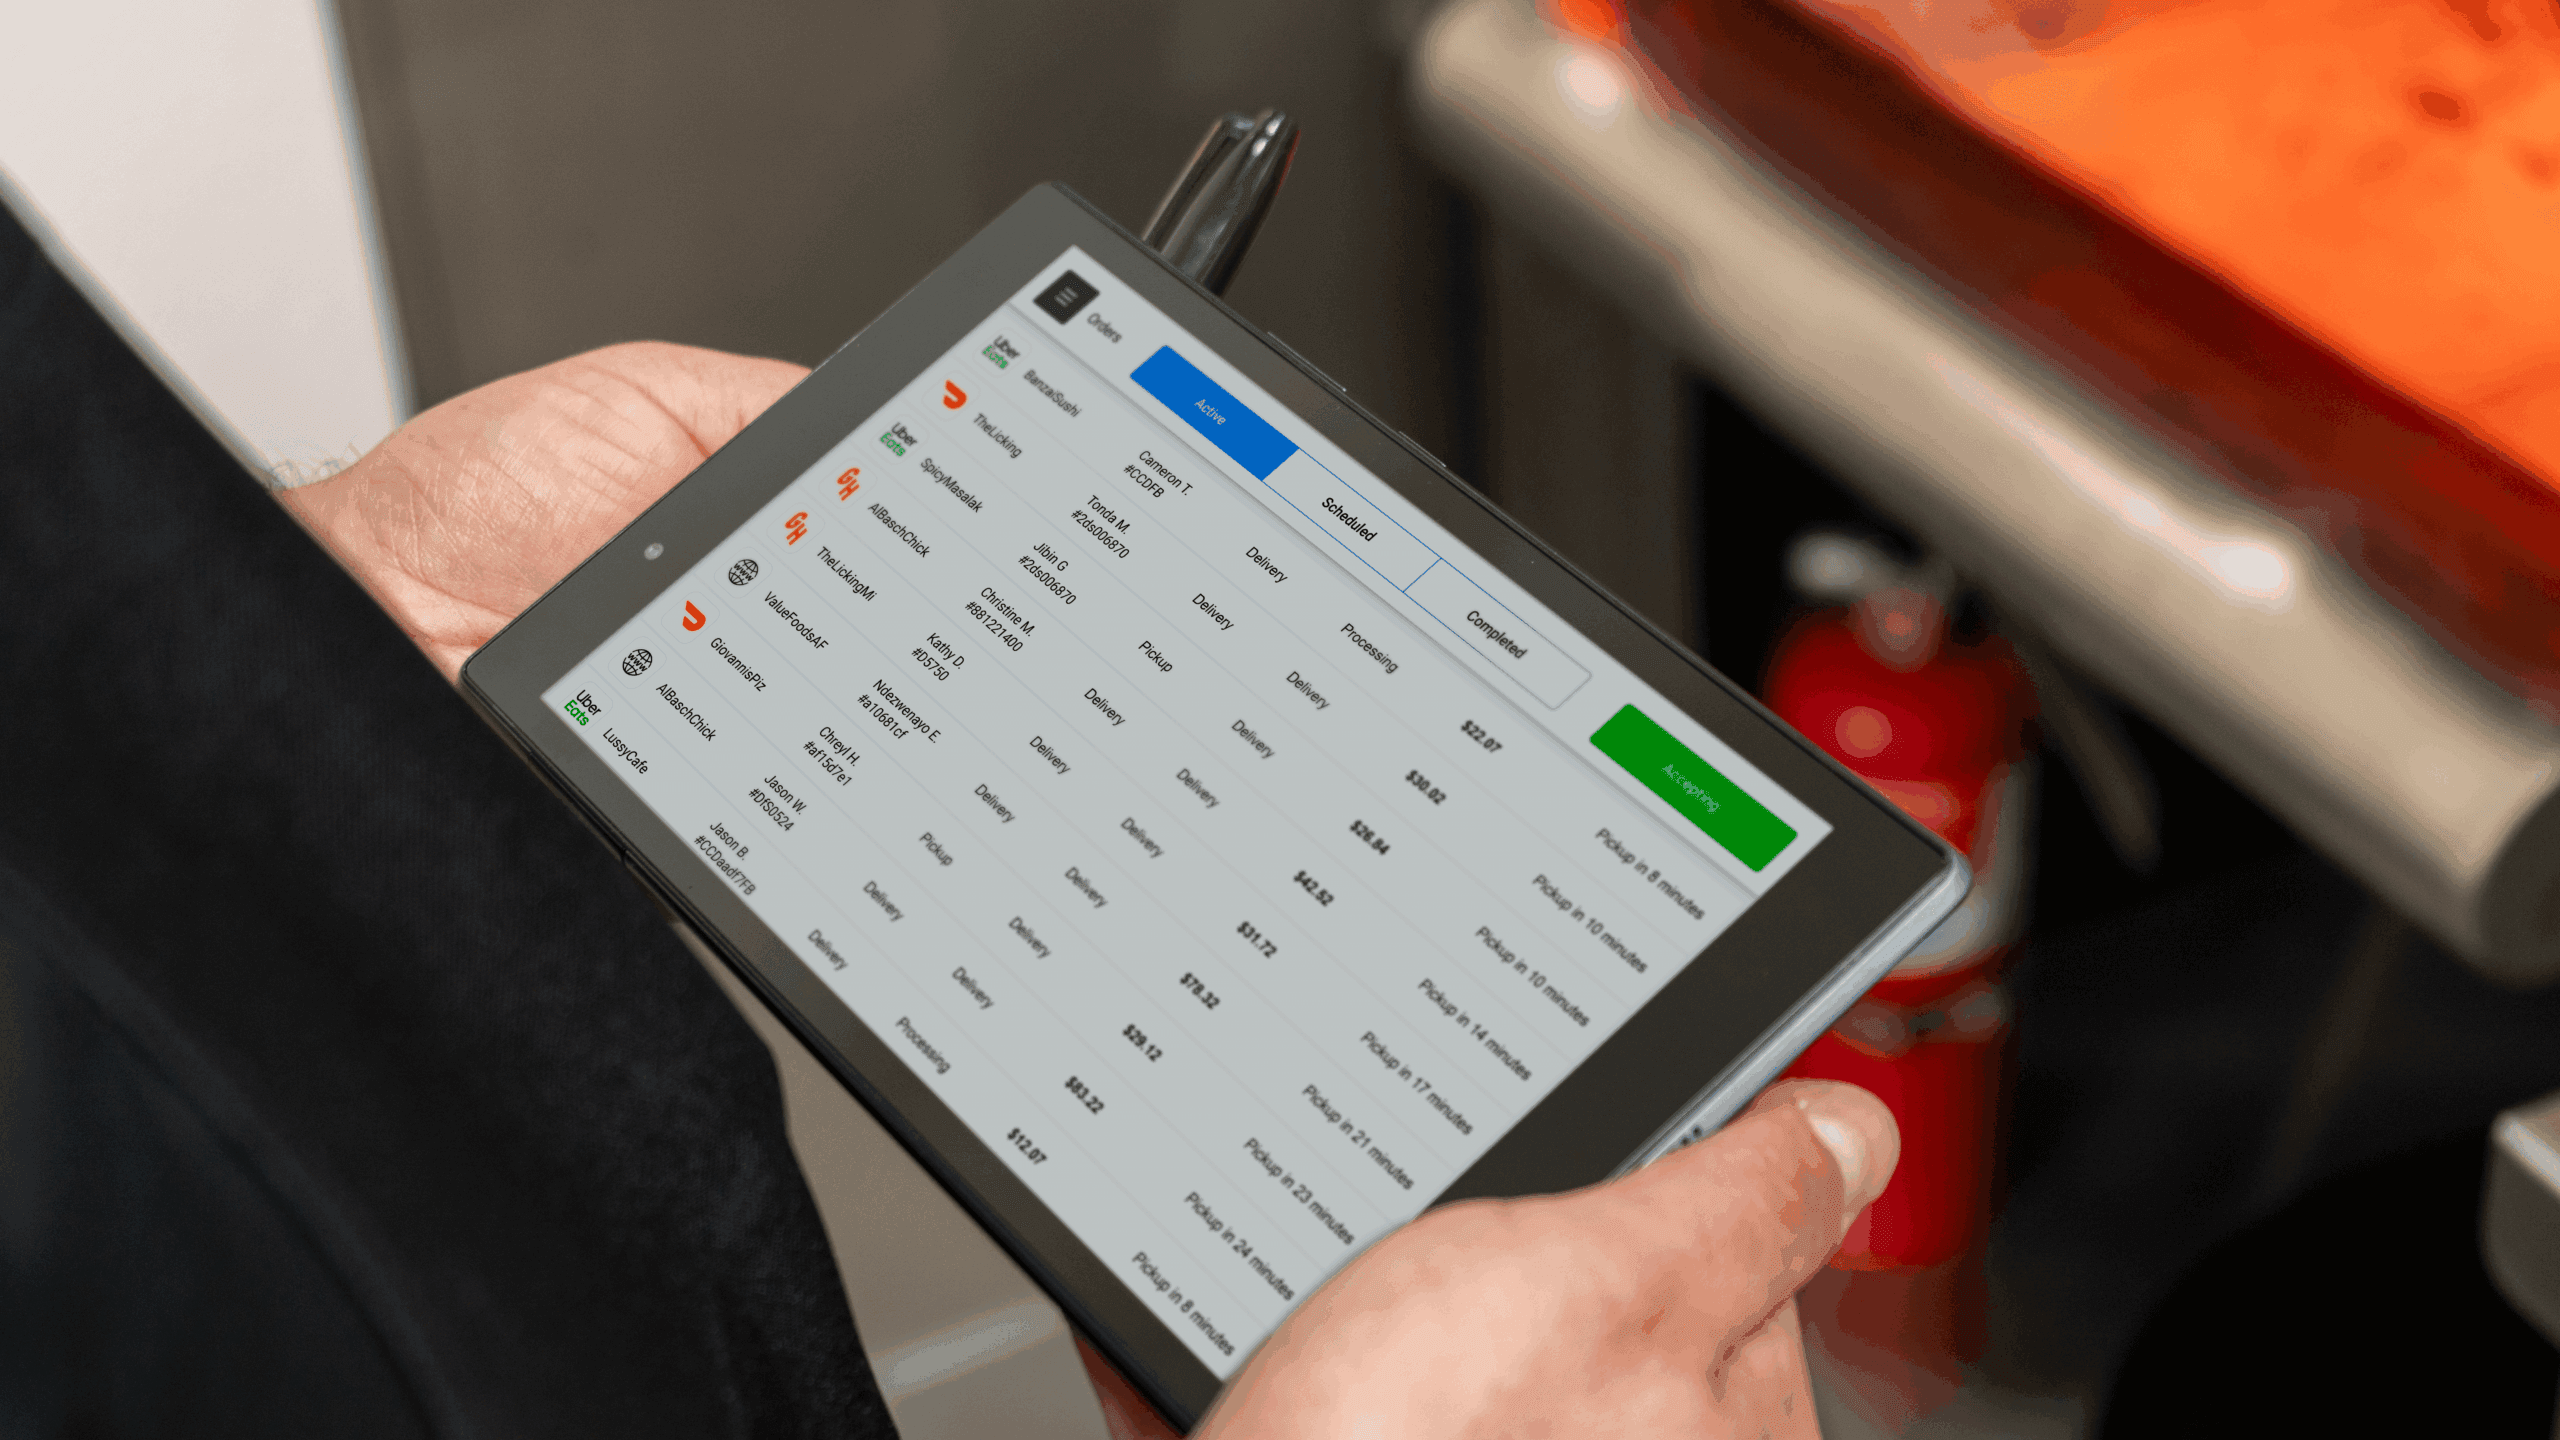
And as online delivery rates are increasing, it’s best to have a POS that integrates many popular delivery apps. Doing this can save you time and money. Plus, you can complete your payment processing easily.

Orders. co, for instance, lets you manage all your online orders in one place, so you don’t have to switch between apps. You just have to install it, and your online orders will start coming in.
5. Set up your account
The next thing you’ll need to do is set up your account.
You’ll need to create an account with the POS system you’re using.
Once you’ve created an account, you’ll be able to access your account from any computer.
6. Add your products and set up your printer

The next thing you’ll need to do is add your products and set up your printer.
Most POS systems come with a built-in product catalog, so you can easily add your products.
Once you’ve added your products, you can start setting up your printer.
You’ll need to connect your printer to the POS system.
Most POS systems come with instructions on how to set up your printer.
7. Train Your Employees

Your employees are going to be the ones using the POS system, so it’s important to train them on how to use it.
The best way to train your employees is to have them use the POS system while you’re there to help them.
This way, you can answer any questions they have and help them through any problems they might encounter.
Be sure to go over all the features of the system and how to use them, such as adding products, taking payments, and processing refunds.
8. Test the System
Once you’ve set up your POS system and trained your employees on how to use it, it’s time to test the system.
The best way to test the system is to run a few transactions and make sure everything is working properly.
If you encounter any problems, be sure to fix them before you start using the system for real transactions.
9. Go Live
Once you’ve set up your POS system and tested it, you’re ready to go live.
Start by accepting a few transactions and then gradually increase the number of transactions you’re processing.
Be sure to keep an eye on the system and make sure everything is running smoothly.
If you encounter any problems, be sure to fix them right away.
Լast tip: remember to keep your system up-to-date with the latest software and security updates
This will help ensure that your system is running smoothly and protect you from potential security threats.
By following these tips, you can be sure that your POS system is set up correctly and can run smoothly.
Start using your POS system

Now that you’ve set up your POS system, it’s time to start using it!
Remember to keep an eye on your sales and inventory levels.
You can use your POS system to track these things and restock your products as needed.
You should also use your POS system to track your customers. You can offer them discounts and coupons to keep them coming back.
And don’t forget to consider software for online delivery. With this, you can manage all of your orders in one place and save a lot of time, plus not to mention the benefits of increased sales and more customers.
By using a POS system, you can streamline your business and make things run smoother.
So what are you waiting for? Get started today!


